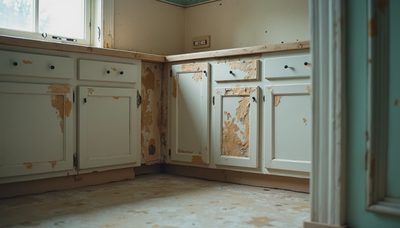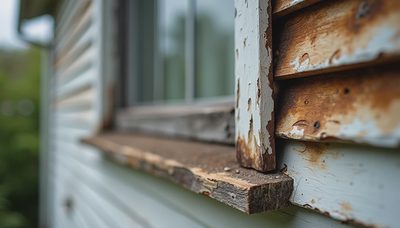
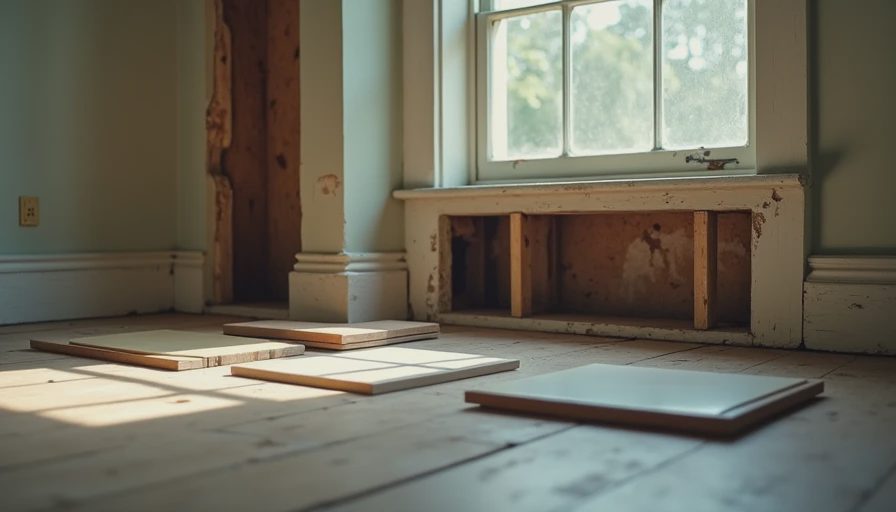
The appeal of updating a kitchen, bathroom, or flooring in an older home is easy to understand. Fresh surfaces make the house feel more livable right away. Yet many of those improvements run into trouble when underlying moisture, structural, or mechanical issues are left unaddressed. Water stains that reappear behind new cabinets, floors that slope after new material is installed, or heating problems that become obvious only after walls are closed up are common results of starting with the visible work.
Deciding what to fix first in an older home before starting cosmetic renovation is less about creating a perfect sequence and more about identifying the problems that will undermine the new finishes if they are ignored. This article walks through the practical priorities that usually give cosmetic work a more stable foundation.
Why Cosmetic Work Alone Often Falls Short in Older Houses
Older homes accumulate small and large issues over decades. Some are visible; many are not. When new finishes are applied over unresolved conditions, the new work can hide the problem temporarily while the underlying cause continues.
Moisture is the most frequent culprit. A slow roof leak, chronic gutter overflow, or damp basement can wet framing, subfloors, or plaster. New flooring or cabinetry installed over those conditions may look fine at first and then swell, stain, or fail. Structural movement—settled foundations, undersized beams, or damaged joists—can cause floors and walls to shift after the cosmetic layer is complete. Outdated or undersized electrical and plumbing systems may not support the increased demand of a remodeled kitchen or bath, leading to costly openings in newly finished surfaces.
Addressing these issues first does not mean every system must be brought to modern standards before any aesthetic work begins. It means identifying the conditions that will actively damage or limit the new finishes and correcting those before the visible renovation starts.
Priority 1: Moisture Sources That Reach the Structure
Water that is still entering the building envelope should be stopped before new materials are installed.
Roof and flashing
Active leaks or widespread roof deterioration allow water into the attic and wall cavities. Even a small ongoing leak can wet insulation, staining ceilings and eventually reaching finished spaces below. Confirm that the roof surface, flashing, and penetrations are managing water before closing up ceilings or installing new upper-floor finishes.
Gutters, downspouts, and grading
Overflowing gutters and downspouts that discharge next to the foundation keep the perimeter of the house wet. This moisture can move into basements, crawl spaces, and lower wall framing. Correcting drainage so that roof water is carried away from the building reduces the load on the foundation and the risk of damp conditions under new flooring.
Plumbing leaks and past water events
Hidden plumbing leaks—especially around supply lines, waste pipes, and fixture connections—can wet subfloors and wall cavities. If there is a history of leaks or if staining is present near baths and kitchens, investigate and repair those sources before new cabinets, flooring, or wall finishes go in.
Moisture problems that are still active will almost always reappear in the new work. Stopping the water first protects the investment in cosmetic surfaces.
Priority 2: Structural Conditions That Affect Floors and Walls
Cosmetic finishes assume a reasonably stable substrate.
Floor framing and subfloors
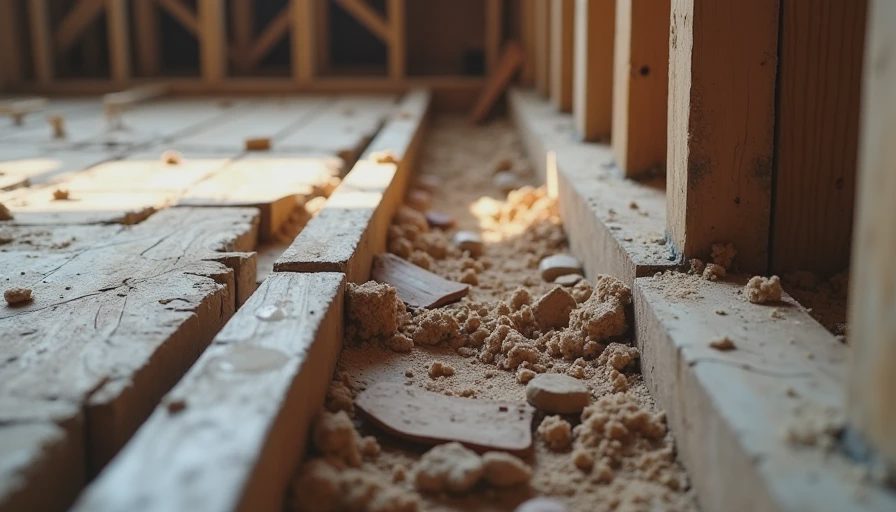
Soft spots, excessive bounce, or noticeable slopes in floors often trace to damaged or undersized joists, inadequate support, or subfloor material that has been wet in the past. Installing new hardwood, tile, or vinyl over these conditions can lead to cracking, telegraphing of irregularities, or premature wear. Assessing and reinforcing the framing where needed gives the new floor a better chance of staying flat and secure.
Wall and ceiling movement
Cracks that continue to open, doors that stick seasonally, or visible settling can indicate ongoing movement. While some seasonal change is normal in older houses, progressive movement should be understood before new plaster, drywall, or trim is applied. In some cases the movement is long complete and only the cosmetic evidence remains; in others active support or foundation issues still need attention.
A contractor experienced with older homes can help distinguish stable historic conditions from problems that will continue to affect new finishes.
Priority 3: Systems That Will Be Difficult to Access Later
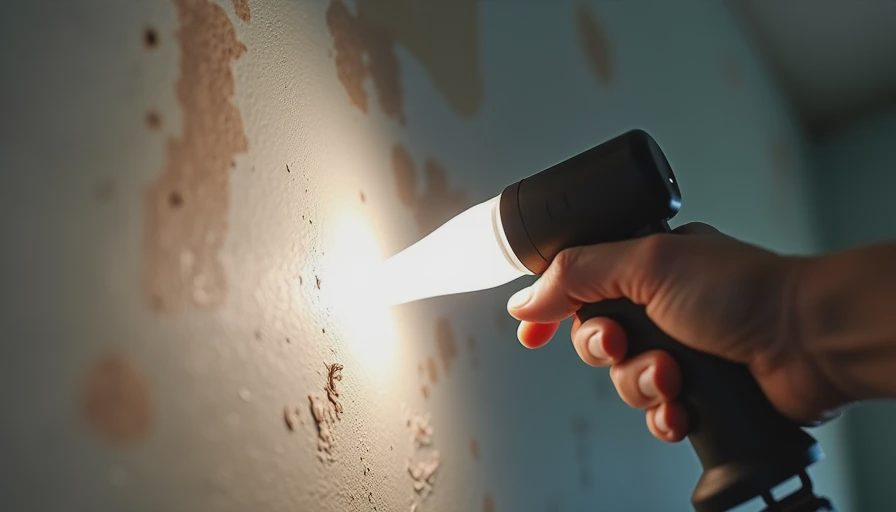
Some mechanical and electrical upgrades are far less disruptive when they are done before walls and ceilings are finished.
Electrical capacity and safety
Older service panels, outdated wiring methods, and insufficient circuits for modern kitchen or bath loads are common. If the renovation will add appliances, lighting, or outlets, confirming that the electrical system can support the new demand—and correcting deficiencies—avoids opening finished walls later.
Plumbing condition and layout
Supply and waste lines that will serve a remodeled kitchen or bathroom should be inspected for material condition, leaks, and adequate capacity. Relocating fixtures is much simpler before new flooring and cabinetry are in place.
Heating and cooling distribution
If the renovation will change the layout of rooms or the amount of insulation, the existing ductwork or radiation may no longer deliver even comfort. Adjustments to supply, return, or zoning are easier when access is still open.
Not every system needs full replacement. The practical test is whether the current condition will limit the function or longevity of the cosmetic work. Those limitations are worth addressing while access is straightforward.
A Practical Order of Evaluation Before Design Begins
You can gather useful information in a logical sequence that informs the scope of the renovation.
Walk the exterior and attic
Look for roof condition, gutter performance, grading next to the foundation, and any obvious signs of water entry. In the attic check for staining, soft decking, and ventilation.
Inspect the basement or crawl space
Note moisture on walls or floors, the condition of framing where it is visible, and any signs of past or present water entry.
Evaluate floors and walls in the areas to be renovated
Walk the floors for soft spots or slopes. Check walls and ceilings for ongoing cracks or staining. Probe window and door sills for soft wood if they are in the renovation zone.
Review the electrical panel and visible plumbing
Note the age and condition of the service equipment and any visible supply or waste lines that will be affected by the work.
Document findings with photographs and simple notes. This record helps when you speak with contractors and also clarifies which issues must be resolved before cosmetic finishes are ordered.
How to Talk with Contractors About Sequencing
A trustworthy local contractor who works on older homes should be comfortable discussing the order of work. Consider asking:
Which of the conditions we have observed will actively affect the new finishes if left unaddressed?
What moisture, structural, or systems work should be completed before cabinetry, flooring, or wall finishes are installed?
How will the sequence protect the new materials from damage during the earlier phases?
Are there areas where a limited repair is sufficient rather than a full system replacement?
Clear answers that refer to the specific conditions in your house are more useful than generic recommendations. The goal is a sequence that removes the problems most likely to damage the cosmetic layer, not an open-ended upgrade of every system.
Putting the Priorities into Practice
Cosmetic renovation in an older home lasts longer when active moisture sources are stopped, structural conditions that affect floors and walls are stabilized, and systems that will be hard to reach later are brought to a functional level. These steps do not require turning every project into a whole-house rehabilitation. They simply place the work that protects the new finishes ahead of the finishes themselves.
Start with a careful look at water entry, floor and wall stability, and the mechanical systems that serve the spaces being updated. The information you gather makes it possible to set a practical order of work and to have focused conversations with the contractors who will carry it out.
Older homes reward this kind of sequencing. When the underlying conditions are handled first, the visible improvements have a better chance of staying intact and performing as intended for years afterward.